Light is the essence of photography—the very word "photography" derives from Greek words meaning "drawing with light." Understanding how to work with different lighting conditions and create your own lighting setups is fundamental to elevating your photography from casual snapshots to professional-quality images.
In this comprehensive guide, we'll explore the full spectrum of lighting techniques, from making the most of available natural light to creating controlled studio lighting setups. Whether you're a beginner working with what you have or a more advanced photographer looking to refine your lighting skills, this article will provide valuable insights and practical techniques.
Understanding Light: The Fundamental Properties
Before diving into specific techniques, it's essential to understand the basic properties of light that affect your photography:
Quality of Light
Hard Light: Produced by small, direct light sources (like the midday sun or a bare flash), hard light creates strong contrast, defined shadows, and emphasizes texture and detail. It can be dramatic but also unflattering for portraits.
Soft Light: Created by large or diffused light sources (like an overcast sky or a softbox), soft light produces gradual transitions between highlights and shadows. It's generally more flattering for portraits and reduces the appearance of skin imperfections.
Direction of Light
The angle from which light strikes your subject dramatically affects the mood and dimension of your image:
- Front Lighting: Light coming from behind the camera flattens features but reveals detail.
- Side Lighting: Creates dimension and texture by casting shadows across the subject.
- Backlighting: Places the light source behind the subject, creating rim lighting, silhouettes, or haze effects.
- Top Lighting: Can create unflattering shadows under eyes and nose (avoid for portraits).
- Bottom Lighting: Creates an unnatural, sometimes eerie effect (think of holding a flashlight under your chin).
Color Temperature
Light has color, measured in Kelvin (K):
- Warm Light (2000-3500K): Sunset, sunrise, incandescent bulbs (yellowish/orange tones)
- Neutral Light (4000-5000K): Mid-day overcast, electronic flash
- Cool Light (5500K+): Clear blue sky, shade (bluish tones)
Understanding color temperature helps with white balance settings and creating the desired mood in your images.
Working with Natural Light
Natural light is versatile, free, and accessible to all photographers. Learning to work effectively with it is perhaps the most valuable lighting skill you can develop.
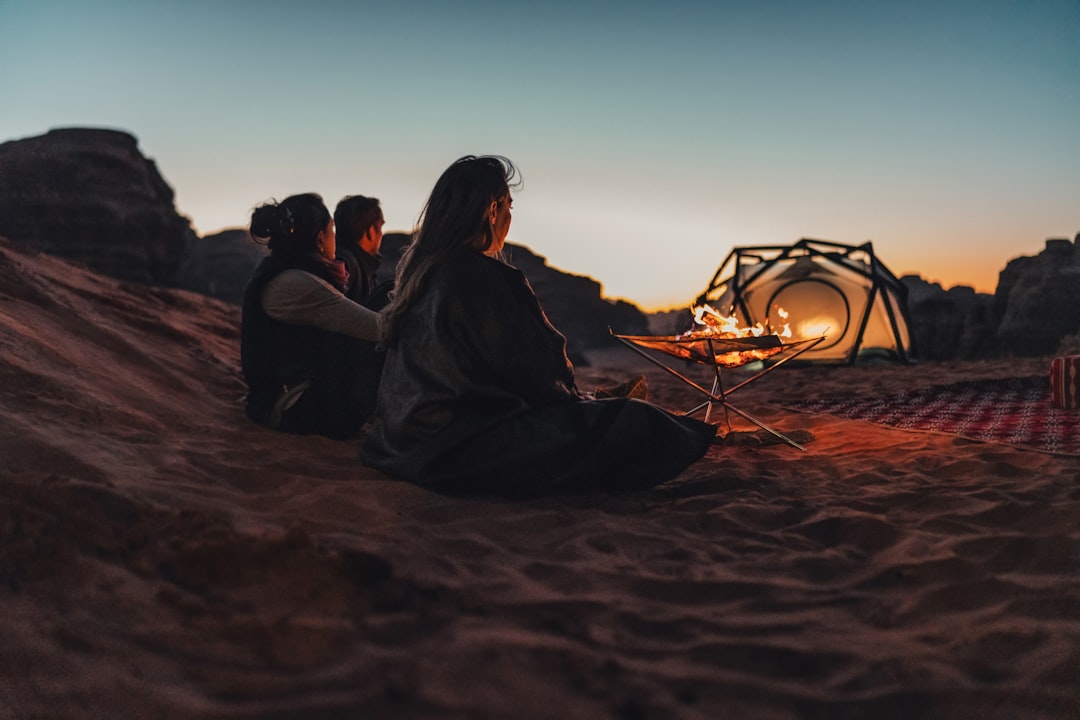
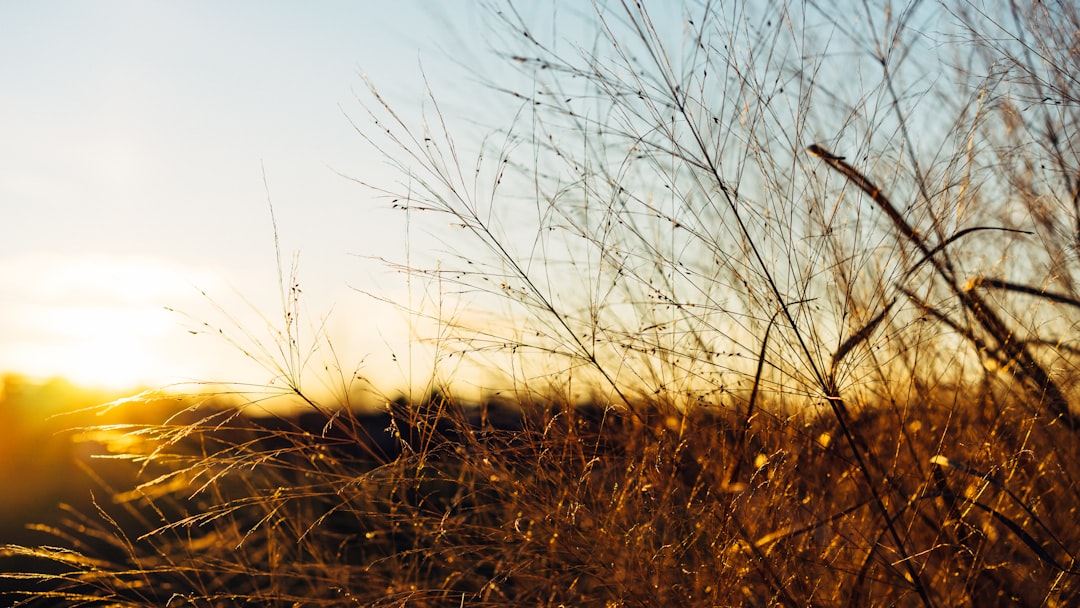
The Golden Hours
The hour after sunrise and the hour before sunset provide the most coveted natural light for photographers. During these times:
- Light is warm and golden
- Shadows are long but soft
- The directional quality adds dimension
- The intensity is gentle enough for comfortable viewing by subjects
For portraits, landscapes, and architectural photography, scheduling shoots during golden hours can dramatically improve your results with minimal equipment.
Overcast Conditions: Nature's Softbox
While many beginners avoid shooting on cloudy days, experienced photographers often prefer overcast conditions, especially for portraits and macro photography, because:
- Clouds diffuse sunlight, creating a giant natural softbox
- Shadows are minimal, allowing for easier exposure
- Colors appear more saturated without harsh sunlight
- Subjects don't squint from bright light
The even illumination of overcast days is particularly flattering for portraits, reducing harsh shadows and creating smooth skin tones.
Controlling Natural Light
Even without artificial lighting equipment, you can modify natural light using simple tools:
- Reflectors: Bounce light back onto shadowed areas of your subject. Even a white piece of foam board or a light-colored wall can serve as an effective reflector.
- Diffusers: Place translucent material between the sun and your subject to soften harsh direct sunlight. A white sheet or a commercial diffusion panel works well.
- Flags/Blockers: Use opaque material to block light and create shadows where needed. Black foam board or fabric can serve this purpose.
These simple modifiers allow you to sculpt natural light without investing in expensive lighting equipment.
Working with Window Light
Window light is a favorite among portrait photographers for its soft, directional quality. To make the most of window light:
- Position your subject at a 45-90° angle to the window for dimensional lighting
- Use north-facing windows (in the northern hemisphere) for consistent, indirect light
- Add a reflector on the shadow side to reduce contrast if needed
- Control light intensity by adjusting distance from the window or using sheer curtains as diffusion
Window light creates a classic, timeless look that works beautifully for portraits, still life, and product photography.
Introducing Artificial Light
When natural light isn't sufficient or suitable, artificial lighting provides control and consistency regardless of time or weather conditions.
On-Camera Flash: Beyond the Basics
While direct on-camera flash often produces unflattering results, you can improve its quality:
- Bounce Flash: Point your flash at a ceiling or wall to reflect softer light onto your subject
- Diffusers: Attach a small softbox or dome diffuser to spread and soften the light
- Flash Compensation: Reduce flash power for more subtle fill light
On-camera flash works best as fill light to reduce shadows in backlit situations or to add a catch light to the eyes.
Off-Camera Flash: Creating Dimension
Moving your flash away from the camera creates more natural and dimensional lighting:
- Use a hot shoe cord, wireless trigger, or your camera's built-in wireless flash system
- Position the flash at approximately 45° to your subject for classic portrait lighting
- Experiment with different heights and angles to create various lighting effects
- Add light modifiers like softboxes or umbrellas for softer light
Even a single off-camera flash dramatically improves lighting quality compared to on-camera flash.
Continuous Lighting
Continuous lights (as opposed to flash) allow you to see exactly how the light affects your subject before taking the photo:
- LED Panels: Energy-efficient, cool-running, and often adjustable in color temperature
- Fluorescent Systems: Provide soft, even light at a reasonable cost
- Tungsten/Halogen: Traditional hot lights that provide warm illumination (but generate heat)
Continuous lighting is particularly useful for beginners, video work, and situations where seeing the exact lighting effect before shooting is crucial.
Studio Lighting Setups
In a controlled studio environment, you can create precisely the lighting you envision. Here are some classic setups to master:
One-Light Setups
Don't underestimate what you can achieve with a single light source:
- Rembrandt Lighting: Position the light at a 45° angle above and to the side of your subject, creating a distinctive triangle of light on the shadowed cheek
- Split Lighting: Place the light at 90° to the subject, illuminating exactly half the face
- Butterfly/Paramount Lighting: Position the light directly in front of and above the subject, creating a shadow under the nose resembling a butterfly
Add a reflector to fill shadows for a less dramatic, more commercially appealing look.
Two-Light Setups
Adding a second light provides more control over shadow detail:
- Key and Fill: The key light provides the main illumination, while a less powerful fill light reduces shadows
- Key and Hair/Rim Light: Add dimension by placing a second light behind the subject to create separation from the background
- Key and Background Light: Control the background exposure independently from your subject
The power ratio between lights (typically expressed in stops) determines the contrast in your image.
Three-Light and Advanced Setups
For complete control, a three-light setup is often considered standard:
- Key Light: The main light source
- Fill Light: Reduces shadows created by the key light
- Hair/Rim Light: Creates separation from the background
Additional lights might include:
- Background Light: Illuminates or creates gradients on the background
- Kicker/Accent Lights: Add highlights to specific areas
As you add lights, remember that each should have a specific purpose. More isn't always better—it's about the quality and intentionality of each light source.
Light Modifiers: Shaping Your Light
The same light source can create dramatically different effects depending on the modifier used:
Diffusion Modifiers
- Softboxes: Create soft, directional light with a natural falloff
- Umbrellas: Provide broad, soft light that spreads widely (less controllable than softboxes)
- Octaboxes: Create soft light with circular catch lights, ideal for beauty photography
- Beauty Dishes: Produce a light quality between soft and hard, with distinctive circular catchlights and good detail
Control Modifiers
- Grids: Focus light and prevent spill, creating more dramatic, concentrated illumination
- Barn Doors: Control the spread of light in specific directions
- Snoots: Create a concentrated circle of light, useful for accent lighting
- Flags/Gobos: Block light to create shadows or patterns
Creative Modifiers
- Gels: Colored filters that change the color of your light for creative or corrective purposes
- Prisms and Reflective Objects: Create interesting light patterns and effects
- DIY Modifiers: Household items like shower curtains, aluminum foil, or cookie sheets can create unique lighting effects
Experimenting with different modifiers allows you to develop your distinctive lighting style.
Mixing Light Sources
Some of the most interesting lighting comes from combining different types of light:
Natural and Artificial Light
Balancing flash with ambient light creates natural-looking images with added dimension:
- Use flash as fill light to reduce harsh shadows on a sunny day
- Balance flash with sunset ambient light for dramatic portraits
- Underexpose the ambient light slightly and use flash as the main light source
The key is controlling the ratio between your flash and the ambient light to create the desired effect.
Balancing Color Temperatures
Different light sources have different color temperatures, which you can use creatively:
- Warm tungsten interior lights contrasted with cool blue twilight through windows
- Gelled flashes to complement or contrast with ambient lighting
- White balance settings that favor one light source while allowing others to show their color cast
These color contrasts can create mood and dimension in your images.
Practical Lighting Tips for Common Scenarios
Portrait Lighting
- Consider the subject's features—higher light positions are generally more flattering
- Create catch lights in the eyes for a sense of life and dimension
- Match the lighting style to the mood you want to convey
- For groups, use broader light sources positioned farther away to maintain even illumination
Product Photography
- Use diffused light to minimize reflections on shiny surfaces
- Consider light tents for small, reflective items
- Use multiple lights to highlight textures and dimensionality
- White or light-colored reflectors help fill shadows and reduce contrast
Event Photography
- Bounce flash off ceilings or walls when possible for more natural lighting
- Consider a flash bracket to move the flash away from the lens axis
- Dragging the shutter (using slow shutter speeds with flash) captures ambient light while freezing subjects
- Have backup lighting options ready for challenging venues
Developing Your Lighting Eye
As with all aspects of photography, developing your lighting skills is an ongoing journey:
- Study the Masters: Analyze how light works in paintings, films, and photographs you admire
- Practice Seeing Light: Train yourself to notice how light falls on objects and people throughout the day
- Experiment: Try different lighting setups, even if they're outside your comfort zone
- Document Your Process: Keep notes or diagrams of lighting setups that work well
Remember that lighting isn't just technical—it's an emotional and artistic choice that profoundly affects how viewers respond to your images.
Conclusion: The Never-Ending Light Journey
Light is the photographer's primary tool, and mastering it is a lifelong pursuit. Whether you're working with window light and reflectors or a full studio lighting setup, understanding how to shape, control, and manipulate light will elevate your photography more than any camera upgrade.
Start with the basics, practice consistently, and gradually add techniques and equipment as your vision requires. Most importantly, develop an awareness of light in all situations—this "light literacy" will become second nature and inform every image you create.
Remember that great lighting isn't about following rigid rules but about creating the mood and feeling that best serves your creative vision. There's always more to learn, more to experiment with, and more ways to use light to tell your unique visual stories.